
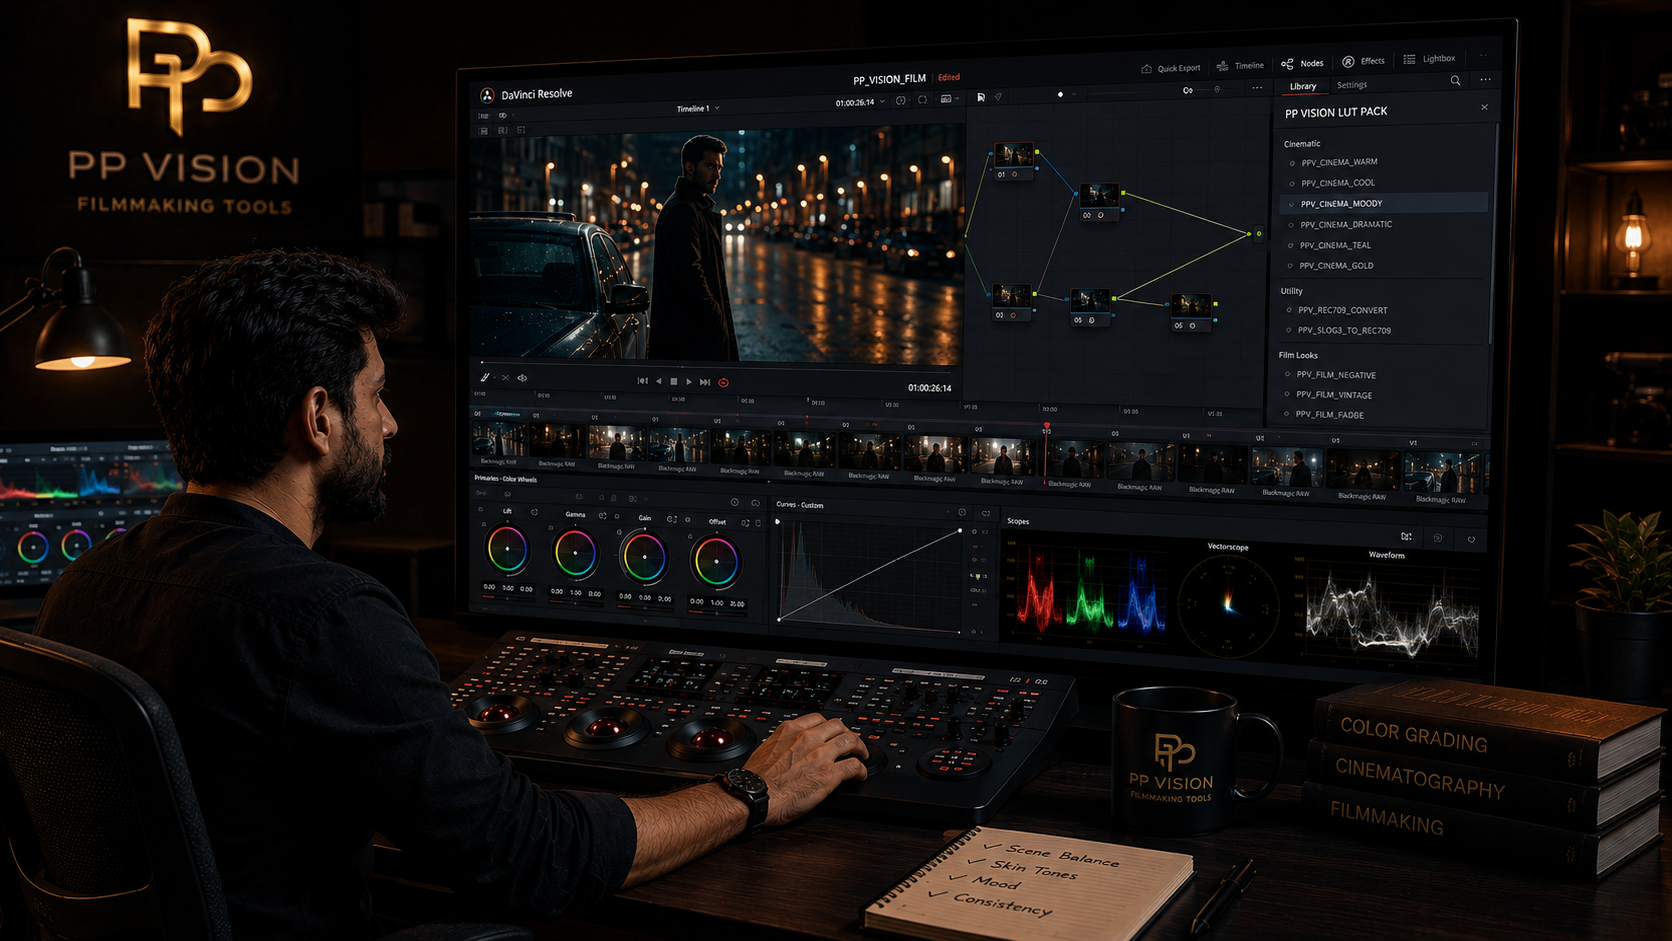
What Is a LUT? How LUTs Actually Work in Color Grading
If you have ever downloaded a cinematic LUT, applied it to your footage, and wondered why the result looked completely different from the preview, you are not alone.
LUTs are one of the most commonly used tools in video color grading, but they are also one of the most misunderstood.
Some LUTs are designed to transform footage from one color space or gamma to another. Others are designed to create a creative look.
The important thing is understanding what a LUT expects as its input and what it is designed to produce.
In this guide, we will explain what a LUT is, how LUTs work, the different types of LUTs, when to use them, and how to avoid the most common LUT mistakes.
What Is a LUT?
Short answer: LUT stands for Look-Up Table. A LUT maps input color and brightness values to different output values according to a predefined transformation.
In simple terms, a LUT tells your software:
"When you see this input value, change it to this output value."
A LUT can therefore be used to transform or modify the appearance of an image.
LUTs are commonly used for:
Color transformations
Camera workflows
Monitoring
Creative looks
Film-style emulation
Previewing a possible final image
The exact purpose depends on how the LUT was created.
How Does a LUT Work?
A LUT works by mapping values from an input image to corresponding output values.
You do not need to understand the mathematics to use LUTs effectively.
The important concept is the input.
Imagine you have a LUT designed specifically for Sony S-Log3 footage.
That LUT expects a particular type of image as its starting point.
If you give it completely different footage, the result may not behave as expected.
This is why the same LUT can look excellent on one clip and terrible on another.
The LUT itself has not necessarily failed.
The input may simply be wrong.
Why Do LUTs Change the Image So Quickly?
Unlike a manual grade where you adjust individual controls, a LUT can apply a predefined transformation across many image values at once.
This makes LUTs useful for quickly moving footage toward a specific technical or creative result.
In DaVinci Resolve, LUTs are integrated into the color workflow and can be applied at different points depending on the project setup. Resolve also provides a full color-management system for handling input, timeline, and output transformations.
That flexibility is useful, but it also means you need to understand where a LUT is being applied.
What Are the Different Types of LUTs?
Not every LUT has the same job.
Understanding the purpose of a LUT is more important than simply knowing how to apply one.
Technical LUTs
A technical LUT is designed to perform a specific technical transformation.
For example, it may transform footage from one gamma or color-space representation into another.
These LUTs are generally intended to solve a technical problem rather than create a particular artistic style.
The exact transformation depends on the LUT.
Creative LUTs
Creative LUTs are designed to change the visual appearance of footage.
They may alter:
Contrast
Color relationships
Saturation
Highlight appearance
Shadow color
Overall palette
A creative LUT can provide a starting point for a particular visual style.
For example, a LUT might push an image toward a warmer film-inspired appearance or a cooler, more subdued palette.
Monitoring LUTs
A monitoring LUT can be used to preview how Log footage might look after a transformation.
This can be useful during production when the recorded image is intentionally flat.
The monitoring image does not necessarily mean the LUT has been permanently applied to the recorded footage.
The exact implementation depends on the camera and monitoring system.
Technical LUT vs Creative LUT
This distinction is extremely important.
Technical LUT | Creative LUT |
|---|---|
Performs a technical transformation | Creates a visual style |
Designed around specific input/output conditions | Designed around a creative result |
Often used to normalize footage | Often used during creative grading |
Requires correct input | Still requires appropriate input |
Solves a technical problem | Shapes the visual appearance |
A technical LUT and a creative LUT should not automatically be treated as interchangeable.
What Is a Camera-Specific LUT?
A camera-specific LUT is designed around a particular camera, gamma, color space, or recording profile.
For example, a LUT may be designed specifically for:
Sony S-Log3 footage
rather than generic video footage.
This matters because different cameras and profiles can represent color and tonal information differently.
A LUT designed for one input should not automatically be expected to work correctly with another.
Camera-specific LUTs can therefore simplify workflows when the source footage is known and consistent.
Why Do Generic LUTs Sometimes Look Bad?
One of the biggest LUT mistakes is assuming that a LUT should work on everything.
A generic LUT may be designed around a particular input condition.
If your footage does not match that condition, several things can happen.
You may see:
Excessive contrast
Crushed shadows
Clipped highlights
Oversaturated colors
Unnatural skin tones
Strange color shifts
An overall processed appearance
The problem may not be the LUT itself.
The problem may be that the LUT is receiving the wrong input.
LUTs Are Not Magic Buttons
A LUT can make a dramatic difference very quickly.
That does not mean it can replace the entire grading process.
A good grade may still require:
Exposure correction
White-balance correction
Shot matching
Contrast adjustments
Saturation control
Skin-tone refinement
Secondary corrections
Final output adjustments
Think of a LUT as a tool within a workflow rather than the entire workflow.
Should You Correct Footage Before Applying a LUT?
Usually, you should understand the LUT's intended input before deciding where to place it.
This is more important than following a universal rule such as "always apply the LUT first" or "always apply the LUT last."
For example, a technical LUT may expect Log footage in a specific gamma and color space.
A creative LUT may expect footage that has already been transformed into a particular working space.
The correct order therefore depends on the LUT.
Before applying it, ask:
What footage does this LUT expect?
What does the LUT output?
Is it a technical or creative LUT?
Is color management already performing a transformation?
Am I applying another transformation that could duplicate the result?
This prevents many common LUT problems.
LUTs and Color Management
Modern color workflows often use color management instead of relying entirely on LUTs.
DaVinci Resolve provides color-management controls for input, timeline, and output transformations, allowing the software to manage color conversions across the workflow.
This means a LUT is not automatically required just because you are working with Log footage.
Depending on your setup, you might use:
DaVinci Resolve Color Management
ACES
Color Space Transform
A technical LUT
A camera-specific workflow
Manual transformations
The right option depends on your footage and project.
LUT vs Color Space Transform
A Color Space Transform and a LUT can sometimes be used for similar transformation tasks, but they are not the same tool.
A LUT uses predefined lookup values.
A Color Space Transform is designed to mathematically transform between defined color spaces and gamma characteristics.
DaVinci Resolve includes dedicated color-management and transformation tools alongside LUT support.
For a professional workflow, the important thing is not choosing the tool that sounds more advanced.
It is choosing the transformation that correctly matches the source and destination.
How to Use a LUT in DaVinci Resolve
The exact placement depends on the LUT and your color-management setup, but the general workflow is simple.
Step 1: Identify Your Footage
Know:
Camera
Gamma
Color space
Codec
Recording format
For example:
Sony → S-Log3 → S-Gamut3.Cine
Do not guess the input.
Step 2: Understand the LUT
Before applying it, determine:
What input does it expect?
What output does it produce?
Is it technical or creative?
Is it camera-specific?
Step 3: Apply the LUT
In DaVinci Resolve, LUTs can be accessed through the Color page and used within the node-based grading workflow.
Apply the LUT at the appropriate stage for your particular workflow.
Step 4: Balance the Result
After applying the LUT, check:
Exposure
Contrast
Saturation
White balance
Skin tones
Highlights
Shadows
Do not assume the LUT has finished the grade.
Step 5: Fine-Tune
Use the normal grading tools to make the image fit the scene.
A LUT can provide a starting point.
Your grade finishes the image.
A Simple LUT Workflow for Beginners
If you are new to LUTs, keep your workflow simple.
Camera footage → Identify input → Correct/transform appropriately → Apply creative LUT → Fine-tune → Export
The exact order can change depending on the LUT.
The important thing is understanding what each stage is doing.
Why One LUT Can Look Different on Different Footage
Even when two clips come from the same camera, they may not respond identically.
Differences can come from:
Exposure
White balance
Lighting
Lens
Scene colors
Contrast
Subject matter
Recording settings
Existing transformations
A LUT is a fixed transformation.
It does not know what happened on set.
That is why a LUT should usually be treated as a starting point rather than a guarantee of an identical result on every shot.
How to Make a LUT Look Better
If a LUT looks too strong, do not immediately assume you need another LUT.
Try adjusting the result.
Depending on your software, you can:
Reduce the LUT's strength
Adjust contrast
Reduce saturation
Correct white balance
Refine skin tones
Control highlights
Adjust shadows
In a node-based workflow, you can also separate the LUT from other corrections so that the different stages remain easier to control.
Common LUT Mistakes
1. Applying the Wrong LUT
A LUT designed for one camera profile may not be suitable for another.
Better approach: Check the LUT's expected input.
2. Applying Multiple Technical Transformations
Applying a camera LUT on top of another transformation can produce unexpected results.
Better approach: Know exactly what each transformation is doing.
3. Using a Creative LUT as a Technical Transform
A creative LUT may change the look but may not correctly transform your camera footage.
Better approach: Understand whether the LUT is technical or creative.
4. Expecting One LUT to Match Every Shot
Different exposures and lighting conditions can produce different results.
Better approach: Balance and match your footage before or after the LUT as appropriate for the workflow.
5. Increasing Saturation Too Much
Some LUTs already make significant color changes.
Adding more saturation can quickly make skin and other colors look unnatural.
6. Using LUTs Without Checking the Image
A LUT may produce an attractive result while still creating problems in highlights, shadows, or skin tones.
Better approach: Use scopes and your eyes together.
7. Thinking More LUTs Mean Better Color
Stacking multiple LUTs rarely makes a workflow better.
Each additional transformation should have a clear purpose.
Are LUTs Still Useful?
Yes.
LUTs remain useful when they are designed for a clear purpose and used with compatible footage.
They can help:
Speed up repetitive workflows
Create consistent starting points
Preview creative looks
Transform compatible camera footage
Establish a visual direction
Simplify certain grading workflows
DaVinci Resolve also allows grades and looks to be saved and reused, which is another way to speed up consistent grading workflows.
The key is not avoiding LUTs.
The key is using the right LUT for the right job.
How to Choose a Good LUT
Before downloading or buying a LUT, ask a few simple questions.
1. What Camera Is It Designed For?
A camera-specific LUT can be more predictable when your footage matches the intended source.
2. What Gamma Does It Expect?
For example:
S-Log3
C-Log3
LogC
V-Log
Another camera-specific gamma
3. What Color Space Does It Expect?
Gamma alone may not be enough information.
The LUT may also depend on a specific gamut or color-space configuration.
4. Is It Technical or Creative?
A technical LUT and a creative LUT serve different purposes.
5. Can You Adjust the Result?
A good workflow should allow you to make additional corrections after the LUT.
When Should You Use a LUT?
Use a LUT when it solves a specific problem or speeds up a workflow.
For example:
Use a technical LUT when you need a specific transformation and the LUT matches your input and output.
Use a creative LUT when you want a consistent starting look and the LUT is designed for your footage.
Avoid a LUT when you do not understand what it is doing to the image.
Sometimes manual grading or color management is the better solution.
Final Takeaway
A LUT is not simply a cinematic filter.
It is a predefined mapping of input values to output values.
That mapping can be used for technical transformations, monitoring, or creative looks.
The most important thing to understand is the relationship between the LUT and your footage.
Correct input → Appropriate LUT → Controlled adjustments → Final grade
Once you understand that relationship, LUTs become much more predictable.
And instead of asking:
"Which LUT looks best?"
Ask:
"Which LUT is designed for my footage and the result I want?"
That is a much better way to build a reliable color-grading workflow.
Frequently Asked Questions
What does LUT stand for?
LUT stands for Look-Up Table. In color workflows, a LUT maps input color and brightness values to predefined output values.
What is a LUT used for?
LUTs can be used for technical color transformations, monitoring, creative looks, film-style emulation, and other image-processing tasks.
Are LUTs the same as color grading?
No. A LUT is a predefined transformation, while color grading is the broader process of balancing, matching, and creatively shaping an image.
Do LUTs work with any camera?
No. A LUT may be designed for a specific camera, gamma, color space, or recording profile. Always check the LUT's intended input.
Are LUTs good for Log footage?
They can be, provided the LUT is designed for the specific Log gamma and color-space conditions of the footage.
Should I use a LUT before or after color correction?
There is no universal order. The correct placement depends on whether the LUT is technical or creative and what input it expects.
Can I use a LUT in DaVinci Resolve?
Yes. DaVinci Resolve supports LUTs as part of its color workflow and also provides color-management and transformation tools.
Why does my LUT look too strong?
The footage may not match the LUT's intended input, or the LUT may simply be producing a stronger result than you want. Exposure, white balance, contrast, and saturation can also affect how the LUT looks.
Are camera-specific LUTs better than generic LUTs?
They can be more predictable when they are designed specifically for the camera profile and footage you are using. The key is matching the LUT's expected input to your actual footage.