
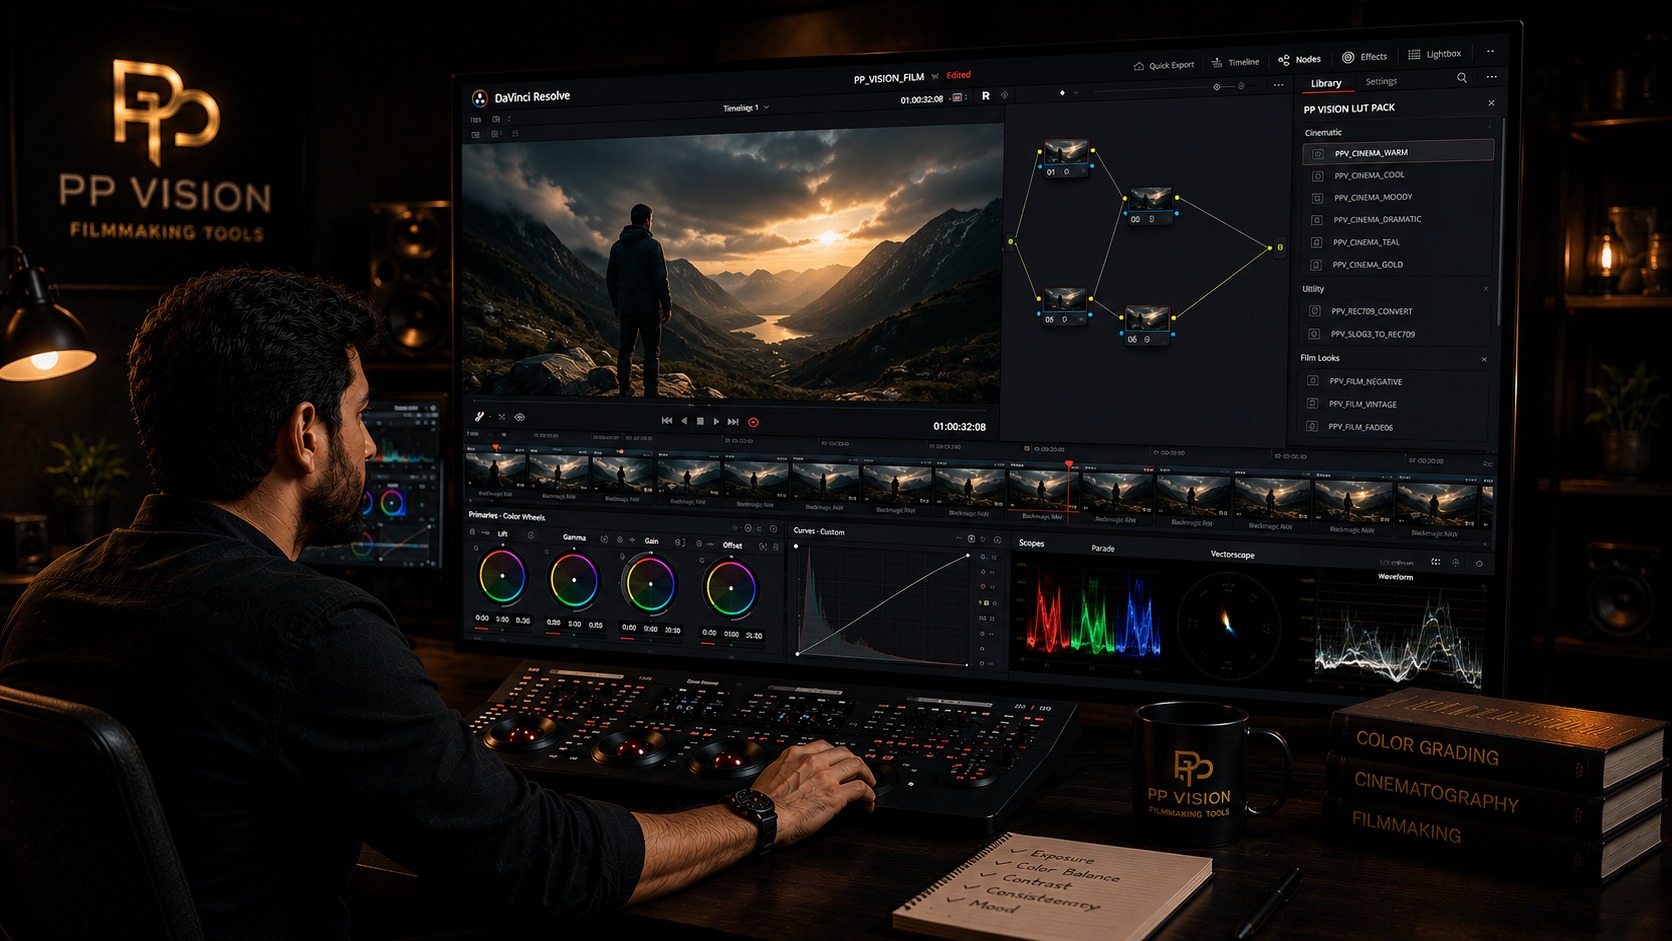
DaVinci Resolve Color Grading: A Beginner's Practical Guide
DaVinci Resolve is one of the most widely used tools for professional color grading, but you do not need to learn every feature before you can start creating better-looking footage.
The Color page gives you tools for balancing exposure, correcting color, matching shots, creating creative looks, working with nodes, using scopes, applying LUTs, and managing color workflows.
The key is learning these tools in the right order.
In this guide, we will build a practical DaVinci Resolve color grading workflow for beginners, starting with basic corrections and gradually moving toward creative grading.
What Is Color Grading in DaVinci Resolve?
Short answer: Color grading in DaVinci Resolve is the process of correcting, balancing, matching, and creatively shaping the color and tone of your footage using the Color page.
The Color page includes primary correction tools, curves, qualifiers, Power Windows, tracking, nodes, scopes, LUT support, and color-management tools.
You do not need to use all of them on every shot.
A good workflow starts with the simplest tool that solves the problem.
Understanding the DaVinci Resolve Color Page
The Color page is built around several important areas.
You will commonly work with:
Viewer
Clip thumbnails
Node Editor
Gallery
Color wheels
Curves
Scopes
Qualifiers
Power Windows
Tracking tools
The exact interface can change between Resolve versions and workspace layouts, but these core concepts remain important.
If you are completely new to Resolve, do not try to memorize the entire interface.
Start with the tools you actually need for a basic grade.
The Basic Color Grading Workflow
A simple grading workflow can be thought of as:
Understand footage → Set up color management → Balance → Match → Create look → Refine → Review
This order is not a rigid rule.
Different projects require different workflows.
But it provides a useful starting point for beginners.
Step 1: Understand Your Footage
Before touching the color controls, identify what you are working with.
Ask:
Which camera was used?
Was the footage recorded in Log?
Is it RAW?
What gamma was used?
What color space or gamut was used?
What codec and bit depth were recorded?
Has the footage already been transformed?
This information matters because the correct grading workflow depends on the source.
For example, Sony S-Log3 footage should not automatically be treated exactly like Canon Log footage or standard Rec.709 footage.
Your first job is understanding the input.
Step 2: Set Up Your Color Management
Color management determines how your source footage is interpreted, processed, and converted toward your intended output.
DaVinci Resolve includes its own color-management system and also supports ACES workflows. Color management can control input, timeline, and output transformations depending on the project configuration.
For beginners, the most important thing is avoiding duplicate transformations.
If your project is already converting Log footage into a display-referred image, adding another technical conversion or LUT without understanding the pipeline can produce unexpected results.
Before adding a LUT or Color Space Transform, know what your project is already doing.
Step 3: Go to the Color Page
Once your timeline is ready, open the Color page.
Select the clip you want to work on.
You will see your clip in the viewer and a node structure representing the current grade.
This is where most of the actual color work happens.
Step 4: Learn the Primary Color Controls
Primary controls affect the overall image.
They are usually the first tools you should learn.
DaVinci Resolve provides primary controls for adjustments such as contrast, saturation, temperature, tint, color boost, highlights, shadows, and other image characteristics.
The primary color wheels are also divided into tonal ranges.
Lift
Lift primarily affects the darker portions of the image.
It can be used to adjust shadow brightness and color balance.
Gamma
Gamma primarily affects the midtone region.
This is particularly important for the overall appearance of faces and other middle-brightness areas.
Gain
Gain primarily affects brighter parts of the image.
It can be useful for controlling highlights and overall brightness.
Offset
Offset affects the image more globally and can be useful for broad adjustments.
Do not think of these controls as completely isolated ranges.
Their effects can overlap depending on the image and adjustment.
Step 5: Balance Exposure and Contrast
Before creating a creative look, establish a stable image.
Look at:
Shadows
Midtones
Highlights
Overall contrast
Exposure
White balance
The goal is not necessarily to make every image look identical.
The goal is to create a technically and visually useful starting point.
DaVinci Resolve's official color workflow places image balancing before the creative grading stage.
Step 6: Correct White Balance
If your footage has an unwanted color cast, correct it before building the creative look.
Temperature controls the warm-to-cool relationship.
Tint controls the green-to-magenta relationship.
For example:
Too blue → move toward warmer
Too orange → move toward cooler
Too green → move toward magenta
Too magenta → move toward green
But remember that not every warm or cool image is incorrect.
Sometimes the color is intentional.
The goal is to distinguish an unwanted color cast from a creative color choice.
Step 7: Use Scopes
Scopes are essential when learning professional color grading.
They give you objective information about the image instead of relying only on your monitor.
Common scopes include:
Waveform
RGB Parade
Vectorscope
Histogram
Waveform
The waveform helps you evaluate brightness and tonal distribution.
It is useful when checking shadows, midtones, and highlights.
RGB Parade
The RGB Parade displays the red, green, and blue channels separately.
It can help identify color imbalance.
Vectorscope
The vectorscope shows color information based on hue and saturation.
It is particularly useful when checking skin tones and overall saturation.
Histogram
The histogram provides a visual representation of how image values are distributed.
You do not need to stare at scopes constantly.
Use them as objective reference tools while making visual decisions.
Step 8: Match Your Shots
A professional-looking grade is not only about making individual shots look good.
The shots need to work together.
If one shot is warm, the next is cool, and the exposure suddenly changes, the viewer may notice the inconsistency immediately.
DaVinci Resolve provides tools for balancing and matching footage, including shot-matching functionality.
A practical approach is:
Choose a reference shot.
Balance that shot.
Compare nearby shots.
Adjust exposure and color differences.
Review the entire sequence.
Do not try to make every shot look identical.
Make the shots feel like they belong together.
Step 9: Understand Nodes
Nodes are one of the most important concepts in DaVinci Resolve.
Instead of stacking adjustments as layers, you build a connected processing structure.
Blackmagic describes nodes as the building blocks of color correction in Resolve.
A simple node structure might look like:
Node 1 → Balance
Node 2 → Contrast
Node 3 → Skin
Node 4 → Creative Look
Node 5 → Finishing
You do not need five nodes for every shot.
The purpose is organization.
Each node should have a clear job.
Why Use Separate Nodes?
Separate nodes make it easier to:
Understand your grade
Disable individual corrections
Adjust one part without affecting another
Troubleshoot problems
Reuse grading structures
Experiment safely
For example, if your creative look is too strong, you can adjust that node without rebuilding your entire correction.
Step 10: Learn Curves
Curves provide more precise control than broad primary adjustments.
You can use curves to shape:
Contrast
Individual color channels
Hue
Saturation
Luminance relationships
A simple S-curve, for example, can increase contrast by adjusting the relationship between shadows and highlights.
But do not add curves simply because professional colorists use them.
Use them when they solve a specific problem.
Step 11: Learn Secondary Corrections
Primary corrections affect the overall image.
Secondary corrections allow you to target specific areas.
For example, you might want to:
Adjust skin
Change the color of a shirt
Reduce saturation in a background
Change the hue of foliage
Isolate highlights
Adjust a specific object
DaVinci Resolve provides qualifiers for selecting areas based on properties such as hue, saturation, and luminance.
The important thing is restraint.
If you isolate everything in the image, the grade can quickly become difficult to control.
Step 12: Use Power Windows
Power Windows allow you to create shapes that isolate or target areas of an image.
For example, you could use a window to:
Brighten a face
Darken a background
Create subtle subject separation
Control a bright area
Draw attention toward an important part of the frame
Power Windows become much more useful when combined with tracking.
Step 13: Use Tracking When Necessary
If your subject moves through the frame, a static Power Window may no longer stay in the correct position.
Tracking allows the adjustment to follow the movement.
This can be useful for:
Faces
Moving subjects
Cars
Objects
Background elements
Again, do not track something simply because you can.
Use tracking when a selective correction needs to follow movement.
Step 14: Add a Creative Look
Once the footage is balanced and matched, you can start creating the visual style.
This is where you can make decisions about:
Contrast
Saturation
Color temperature
Highlight color
Shadow color
Color separation
Skin tone
Overall palette
There is no universal cinematic setting.
A wedding film may need a different look from a thriller.
A commercial may need something different from a documentary.
The creative grade should support the project.
Step 15: Use LUTs Carefully
LUTs can be useful in a DaVinci Resolve workflow, but they should not automatically replace color management or manual grading.
Before applying a LUT, ask:
What input does it expect?
What output does it produce?
Is it technical or creative?
Is it designed for my camera profile?
Is another transformation already being applied?
For example, a LUT designed for Sony S-Log3 footage should not automatically be used on unrelated footage.
A camera-specific LUT can provide a useful starting point when the source matches the LUT's intended input.
Step 16: Refine Skin Tones
Skin is often one of the most noticeable parts of a grade.
Even when the overall image looks good, unnatural skin can make the grade feel wrong.
Use:
Vectorscope
Qualifiers
Curves
Primary controls
Power Windows
when necessary.
But do not force skin into a particular color simply because a scope suggests it should be there.
Skin tone varies naturally between people and lighting conditions.
Use scopes as reference and your eyes as part of the final decision.
Step 17: Check the Grade at Full Sequence Level
Do not judge your grade only on one frame.
Watch the complete sequence.
Look for:
Sudden exposure changes
Different skin tones
Inconsistent saturation
Shots that are too warm or cool
Background colors that suddenly change
Cuts that feel visually distracting
DaVinci Resolve's Gallery and stills can also be used to save and compare grades and help maintain consistency across shots.
This is one of the simplest ways to improve your grading.
A Simple Beginner Node Structure
If you are new to nodes, start with something simple.
Node 1 — Balance
Correct:
Exposure
White balance
Basic contrast
Node 2 — Contrast
Shape the overall tonal structure.
Node 3 — Secondary
Make a selective correction if needed.
Node 4 — Creative Look
Apply your creative color decisions or appropriate LUT.
Node 5 — Finishing
Make final adjustments.
You may not need every node.
If a shot only needs exposure and white balance, two nodes may be enough.
Common DaVinci Resolve Color Grading Mistakes
1. Starting With the Creative Look
Beginners often apply a LUT immediately and then try to fix everything afterward.
Better approach: Understand the input and establish a controlled image first.
2. Using Too Many Nodes
A complicated node tree does not automatically produce a better grade.
Better approach: Give each node a clear purpose.
3. Ignoring Scopes
Your monitor can be useful, but it is not the only reference.
Better approach: Combine your eyes with scopes.
4. Over-Saturating the Image
More color does not automatically mean better color.
Better approach: Increase saturation carefully and control individual colors when necessary.
5. Ignoring Shot Matching
A beautiful single frame is not enough.
Better approach: Review the entire scene and match the shots.
6. Applying Multiple Transformations
A LUT, Color Space Transform, and color-management system can potentially overlap.
Better approach: Know exactly what each stage is doing.
7. Making Every Shot Look Identical
Scenes naturally change.
Better approach: Maintain visual continuity while allowing intentional changes.
A Practical DaVinci Resolve Workflow
For most beginner projects, you can start with this workflow:
1. Identify the footage
Camera → Gamma → Color Space → Recording Format
2. Set up the color pipeline
Choose the appropriate color-management or transformation workflow.
3. Balance the image
Exposure → White Balance → Contrast
4. Match the shots
Make the scene consistent.
5. Create the look
Contrast → Saturation → Color Relationships
6. Make selective corrections
Skin → Subject → Background
7. Fine-tune
Use curves, windows, qualifiers, or other tools only when necessary.
8. Review
Watch the entire sequence.
9. Check the output
Make sure the final image is appropriate for the intended delivery.
Do You Need DaVinci Resolve Studio to Learn Color Grading?
No.
DaVinci Resolve is available in both a free version and a Studio version.
The exact features available can differ between the editions.
For someone learning the fundamentals of color grading, the free version provides a useful starting point.
You can learn:
Primary corrections
Nodes
Scopes
Curves
Basic secondary corrections
Shot matching
LUT workflows
Basic color-management concepts
As your projects become more demanding, you can evaluate whether Studio features are useful for your workflow.
How Long Does It Take to Learn DaVinci Resolve Color Grading?
You can learn the basic controls relatively quickly.
Becoming consistently good at grading takes much longer.
The difficult part is not memorizing where the controls are.
It is learning to recognize:
What is wrong with an image
What should be corrected
What should remain untouched
How shots should match
When a creative look is too strong
How color affects the story
The fastest way to improve is to grade real footage.
Take the same scene and try different approaches.
Then compare the results.
Final Takeaway
DaVinci Resolve can look complicated when you first open the Color page.
You do not need to learn everything at once.
Start with the fundamentals:
Understand your footage → Set up the correct pipeline → Balance → Match → Create the look → Refine → Review
Learn primary controls first.
Then add scopes.
Then nodes.
Then curves and secondary corrections.
Then move into more advanced tools as your projects require them.
The goal is not to build the most complicated node tree.
The goal is to create a controlled, repeatable workflow that helps you produce better images consistently.
Frequently Asked Questions
Is DaVinci Resolve good for color grading?
Yes. DaVinci Resolve has a dedicated Color page with primary and secondary correction tools, nodes, curves, qualifiers, Power Windows, tracking, scopes, LUT support, and color-management tools.
Is DaVinci Resolve free?
DaVinci Resolve is available as a free version, while DaVinci Resolve Studio is the paid version with additional features. The exact feature differences depend on the Resolve version.
Do I need DaVinci Resolve Studio for color grading?
No. The free version provides many of the fundamental tools needed to learn color grading, including primary corrections, nodes, scopes, curves, and other grading tools.
What should I learn first in DaVinci Resolve color grading?
Start with exposure, white balance, contrast, primary color controls, scopes, and basic nodes. Once these are comfortable, move into curves, qualifiers, Power Windows, and more advanced tools.
What are nodes in DaVinci Resolve?
Nodes are the building blocks of DaVinci Resolve's color workflow. They allow you to organize different corrections and creative adjustments into a connected grading structure.
Do I need LUTs to color grade in DaVinci Resolve?
No. LUTs are optional. You can grade manually or use DaVinci Resolve's color-management and transformation tools depending on your workflow.
Should I use a LUT before or after color correction?
There is no universal answer. It depends on what the LUT expects as its input and whether it is technical or creative. Always understand the LUT and your color pipeline before deciding where to apply it.
What are scopes used for in DaVinci Resolve?
Scopes provide objective information about brightness, color balance, hue, and saturation. Common scopes include waveform, RGB Parade, vectorscope, and histogram.
How do I make footage look cinematic in DaVinci Resolve?
Start by balancing and matching the footage. Then build a creative look using contrast, saturation, color relationships, and selective adjustments. There is no single cinematic setting that works for every project.