
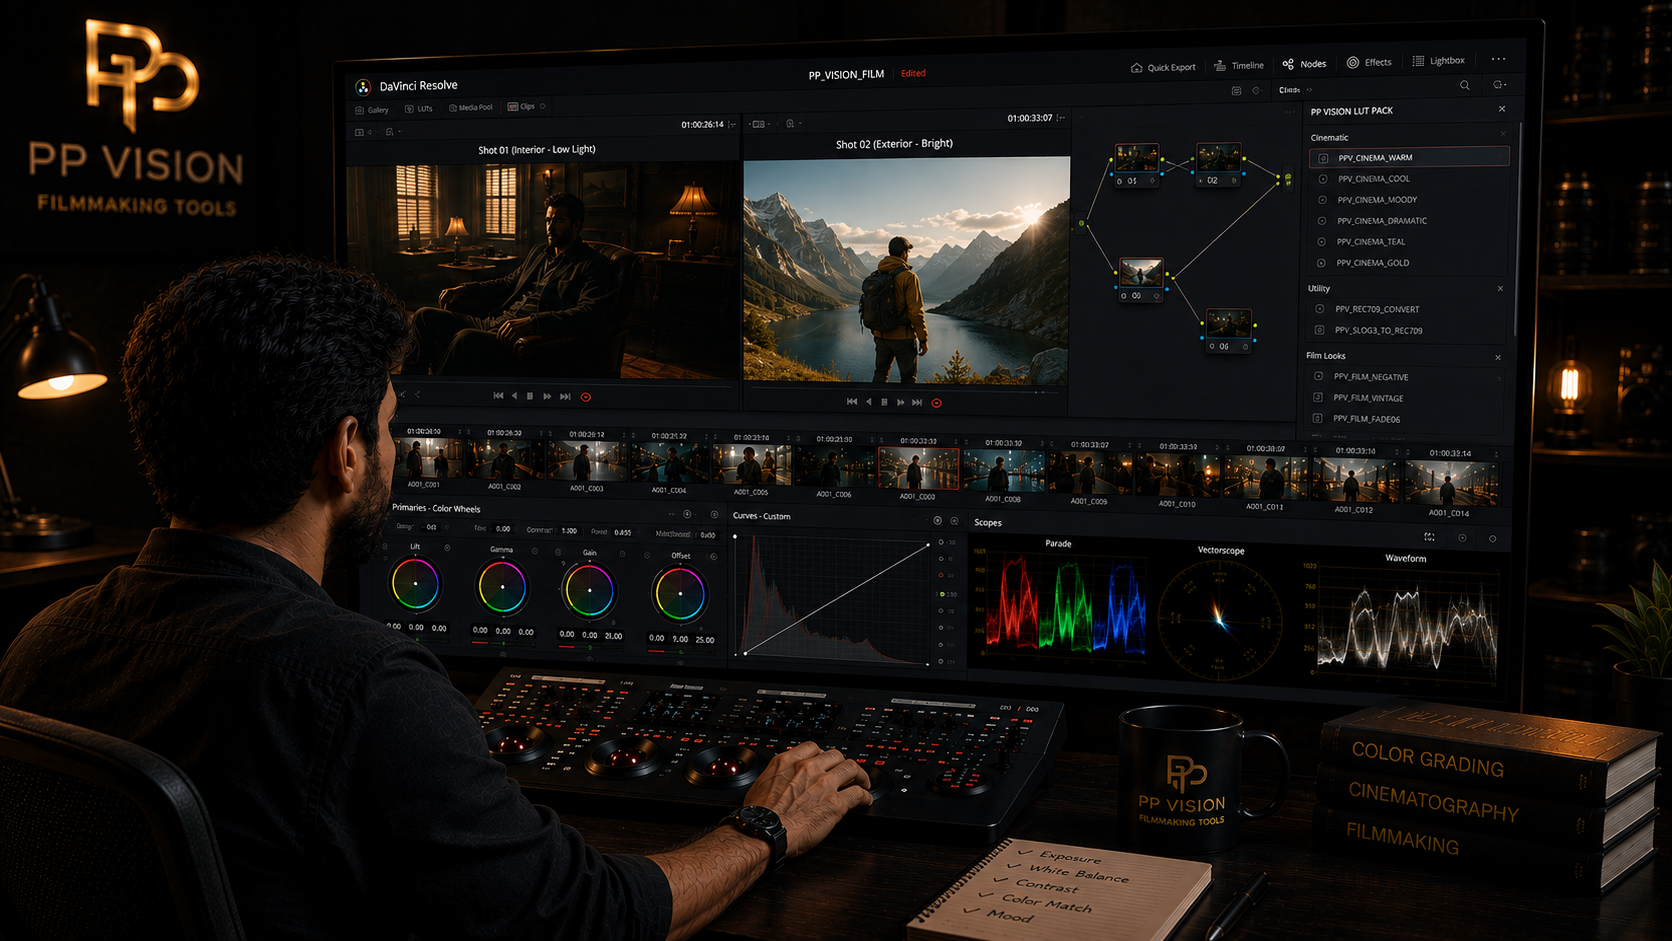
Why Your Shots Still Don't Match After Using the Same LUT
You applied the same LUT to every shot.
One clip looks great.
The next looks too dark.
Another looks warmer.
Skin tones are slightly different.
So you try reducing the LUT strength, changing the LUT, or applying another LUT.
But the real problem may not be the LUT.
The same LUT can produce different results when the footage going into it is different.
Exposure, white balance, lighting, camera angle, lens choice, and the color pipeline can all affect the final result.
This is why shot matching is still necessary even when every clip uses exactly the same LUT.
Why Don't Shots Match With the Same LUT?
Short answer: A LUT applies a predefined transformation to the image. It does not make different source footage identical.
Imagine two shots from the same camera.
Shot A is correctly exposed and captured under neutral light.
Shot B is slightly darker and has warmer light hitting the subject.
Apply the same LUT to both.
The LUT is identical.
The input is not.
The output can therefore look different.
Same LUT ≠ Same Result.
A LUT Doesn't Understand Your Scene
A LUT does not know that two clips are different angles of the same conversation.
It does not know:
Which shot is your reference
Whether the subject moved
Whether the lighting changed
Whether one shot is underexposed
Whether the white balance changed
Whether the background became brighter
It simply processes the image values it receives.
That is why a LUT should not be treated as a shot-matching tool.
Exposure Is One of the Biggest Reasons
Exposure differences can become more obvious after a LUT is applied.
For example:
Shot A
Correctly exposed
Controlled highlights
Normal shadow detail
Shot B
Slightly underexposed
Deeper shadows
Different tonal balance
After the same creative LUT is applied, Shot B may appear:
Darker
More contrasty
More saturated
Different in skin tone
The LUT did not necessarily behave incorrectly.
The footage entered the LUT in a different state.
White Balance Can Change the Result
Two clips can have similar exposure and still look completely different because of white balance.
Imagine a dialogue scene where one angle faces a window and another faces an interior wall.
The camera settings may be identical.
The light hitting the subject may not be.
One shot can look cooler while the other looks warmer.
Applying the same LUT will not automatically remove that difference.
Balance the footage before expecting the LUT to create consistency.
Lighting Changes Between Shots
This happens constantly when shooting with natural light.
You start filming while the sun is visible.
A few minutes later, clouds move across the sky.
Or the subject moves closer to a window.
Or a practical light is turned on.
The camera settings can remain unchanged.
The scene has still changed.
That difference becomes part of the footage.
This is one reason professional shot matching is about more than simply copying a grade from one clip to another.
Camera Angle Can Change the Image
Changing the camera position can change the light hitting the subject.
For example, a person standing near a window may look different when photographed from opposite sides.
One angle may receive more window light.
The other may receive more room light.
Same camera.
Same LUT.
Different image.
So when two shots don't match, don't immediately blame the LUT.
Look at the light first.
Different Lenses Can Also Affect the Image
When a project uses multiple lenses, subtle differences can appear between shots.
Depending on the lens and shooting conditions, you may notice differences in:
Contrast
Flare
Highlight rendering
Color response
Overall image character
A LUT cannot automatically remove every characteristic created by different lenses.
The footage may still need individual adjustments.
The Mistake: Matching the LUT Instead of Matching the Image
This is where many beginners get stuck.
They think:
"Both clips have the same LUT, so they should look the same."
A better question is:
"What is different between these two images?"
Start with the obvious variables.
Check Exposure
Is one shot brighter?
Check White Balance
Is one warmer or cooler?
Check Contrast
Does one have deeper shadows or brighter highlights?
Check Saturation
Is one shot more intense?
Check Skin
Are skin tones changing between angles?
Check the Background
Did the lighting or environment change?
Once you identify the difference, you can correct it.
Choose a Hero Shot
One of the simplest ways to approach shot matching is to choose a hero shot.
This is the shot that represents how you want the scene to look.
It might be:
The best-exposed shot
A wide shot
The most representative shot
The shot with the most consistent lighting
The shot closest to your intended final look
Blackmagic's DaVinci Resolve Colorist Guide recommends selecting a master reference shot for matching and notes that a wide shot can be useful because it often represents the overall lighting, shadows, actors, costumes, and environment of the scene.
The other shots can then be evaluated against that reference.
Don't Match Everything at Once
When a shot looks different, break the problem down.
Instead of:
"This shot looks wrong."
Ask:
Is the exposure different?
Is the white balance different?
Is the contrast different?
Is the saturation different?
Is the skin different?
Is the background different?
This makes shot matching much easier.
A Practical Shot-Matching Workflow
Step 1 — Choose Your Hero Shot
Pick the shot you want the scene to follow.
Step 2 — Balance the Hero Shot
Establish appropriate:
Exposure
White balance
Contrast
Saturation
Step 3 — Establish Your Creative Look
If you are using a creative LUT, apply it according to its intended input and your color-management workflow.
Step 4 — Select the Next Shot
Compare it directly with your reference.
Step 5 — Fix Exposure Differences
Bring the tonal balance closer to the reference.
Step 6 — Fix White Balance
Correct obvious warm/cool differences.
Step 7 — Match Contrast
Compare the shadows, midtones, and highlights.
Step 8 — Check Skin
Make sure the subject remains visually consistent between shots.
Step 9 — Compare Again
Use both your eyes and scopes.
Step 10 — Move to the Next Shot
Repeat the process.
DaVinci Resolve's Shot Match function can provide a starting point, but Blackmagic specifically recommends evaluating automatic results and refining them manually using grading tools and scopes when necessary.
What If the LUT Looks Great on One Shot but Bad on Another?
Don't immediately throw away the LUT.
First ask:
Does the second shot have the same input characteristics?
Check:
Camera
Gamma
Color space
Exposure
White balance
Lighting
If those conditions are different, the LUT may simply be receiving different footage.
Why Camera-Specific LUTs Can Help
A camera-specific LUT is designed around a known source rather than an undefined mixture of cameras and profiles.
For example:
Sony S-Log3 footage → LUT designed for that input
That can make the workflow more predictable when the footage matches the LUT's intended input.
But camera-specific does not mean every shot will automatically match.
Exposure and lighting still matter.
This distinction is important.
Camera-specific means a defined input.
It does not mean:
"Every clip will look identical."
The Same Camera Doesn't Mean Identical Footage
Two clips can come from the same camera and still look very different.
For example:
Clip 1
Subject facing a window
Neutral white balance
Correct exposure
Clip 2
Subject facing away from the window
Warmer practical lighting
Slightly darker exposure
Same camera.
Same profile.
Same LUT.
Different image.
This is normal.
The LUT cannot know what changed on set.
What About Color Management?
If you're using DaVinci Resolve Color Management, ACES, a Color Space Transform, or another technical transformation, you also need to know where your creative LUT sits in the pipeline.
Resolve's color-management workflow handles transformations between input, timeline, and output color spaces, so adding another transformation without understanding the existing pipeline can create unexpected results.
Before troubleshooting a LUT, ask:
What transformation is already happening?
Then:
What input does my LUT expect?
And:
What does the LUT output?
This is much more useful than simply trying another LUT.
Don't Use Another LUT to Fix the Problem
This is one of the easiest ways to make a grading problem worse.
You apply LUT A.
It looks wrong.
So you try LUT B.
Still wrong.
Then LUT C.
Now the image has several different transformations affecting it.
Stop.
Go back to the image.
Check:
Exposure → White Balance → Contrast → Saturation
Then evaluate the LUT again.
Diagnose the footage before adding another look.
What If the Shots Were Actually Shot Differently?
Sometimes the footage cannot be perfectly matched.
Maybe:
The lighting changed
The weather changed
One angle was backlit
The lens changed
The scene was filmed at different times
Different cameras were used
In these situations, perfect matching may not be possible.
The goal is not to make every pixel identical.
The goal is to make the sequence feel visually continuous.
That is a much more realistic target.
Don't Try to Make Every Shot Identical
A good sequence can contain natural differences.
You may still have:
Slightly different highlights
Different shadow density
Natural color changes
Different background brightness
That is okay.
The viewer does not need every shot to be mathematically identical.
They need the shots to feel like they belong together.
A Better Way to Think About Shot Matching
Don't think:
"Make every shot identical."
Think:
"Make the viewer feel like these shots belong together."
That changes the way you grade.
Instead of chasing exact values, you start looking at:
Continuity
Skin
Contrast
Exposure
Color relationships
Lighting consistency
The result is usually more natural.
Common LUT Matching Mistakes
1. Using the Same LUT and Stopping There
A LUT is not a shot-matching system.
2. Ignoring Exposure
Exposure differences can become more obvious after a creative transformation.
3. Ignoring White Balance
Different color temperatures can make matching difficult.
4. Applying Multiple Transformations
A LUT, Color Space Transform, and color-management system can overlap if the workflow is not understood.
5. Matching Only Skin
Skin is important, but the entire frame needs to work.
6. Trying to Make Every Shot Identical
Visual continuity is more important than mathematical sameness.
7. Blaming the LUT Too Quickly
Sometimes the LUT is fine.
The input is the problem.
The Real Reason Your LUT Isn't "Matching"
If you remember only one thing from this article, remember this:
A LUT creates a transformation. It does not create identical footage.
If the footage entering the LUT is different, the result can be different.
A practical workflow is therefore closer to:
Consistent Input → Appropriate LUT → Shot Matching → Creative Refinement
rather than:
Same LUT → Every Shot → Done
Final Takeaway
If your shots don't match after applying the same LUT, don't immediately search for another LUT.
First inspect the footage.
Check:
Exposure
White balance
Contrast
Lighting
Camera angle
Lens
Camera profile
Color-management pipeline
Then choose a hero shot and match the other clips against it.
The LUT should be part of the workflow — not the entire workflow.
And if you are using a camera-specific LUT, remember what "camera-specific" actually means.
It means the LUT is designed around a known input.
It does not mean the LUT can make differently exposed and differently lit shots identical.
Good shot matching starts with understanding the footage before blaming the LUT.
Frequently Asked Questions
Why do my shots look different with the same LUT?
Because the footage going into the LUT may have different exposure, white balance, lighting, contrast, or other characteristics.
Does using the same LUT make all shots match?
No. A LUT applies the same predefined transformation, but different input footage can produce different results.
Should I match shots before applying a creative LUT?
It depends on the LUT and your workflow. The important thing is understanding the LUT's expected input and keeping the color pipeline consistent.
Why does my LUT look good on one clip but bad on another?
The two clips may have different exposure, lighting, white balance, or other input characteristics. Compare the footage before assuming the LUT is the problem.
Can a camera-specific LUT match all footage from that camera?
No. Camera-specific means the LUT is designed around a particular camera/profile input. It does not remove differences caused by exposure, lighting, white balance, or shooting conditions.
How do I match shots in DaVinci Resolve?
Choose a suitable reference shot, compare the other clips against it, then adjust exposure, white balance, contrast, saturation, and other differences as needed. Resolve also provides Shot Match, scopes, Gallery stills, and comparison tools to assist with the process.